You've mastered the standard RSC—regular slotted carton. Feed the blank, fold the sides, apply glue, compress, stack. Simple. Then the customer sends a new sample: a 4-corner lock-bottom box for a pharmaceutical product. Or a 6-corner collapsible display carton. The blank looks different. The folding sequence is different. And your first run ends with jams, mis-tucked corners, and "smiling" lock-bottoms that won't stay flat.
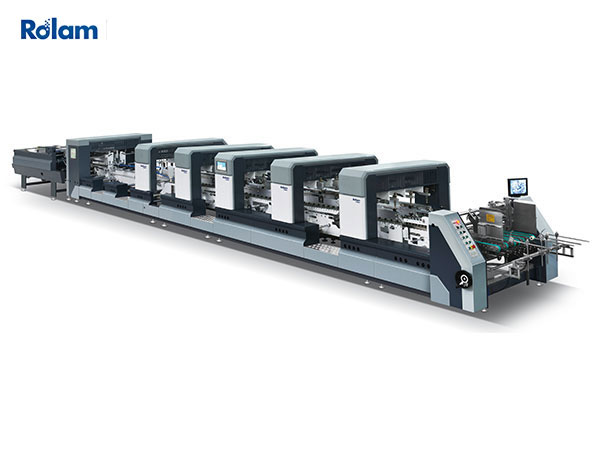
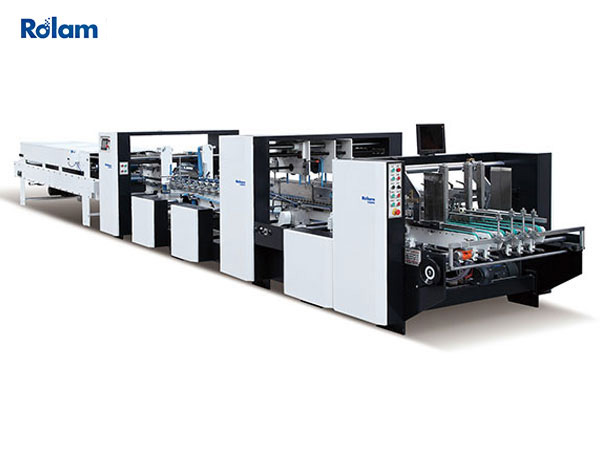
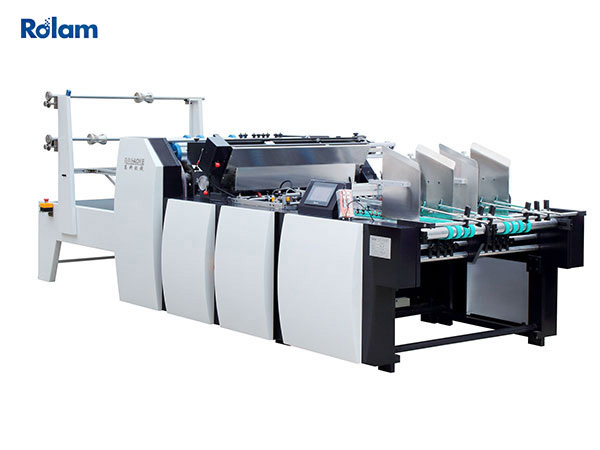
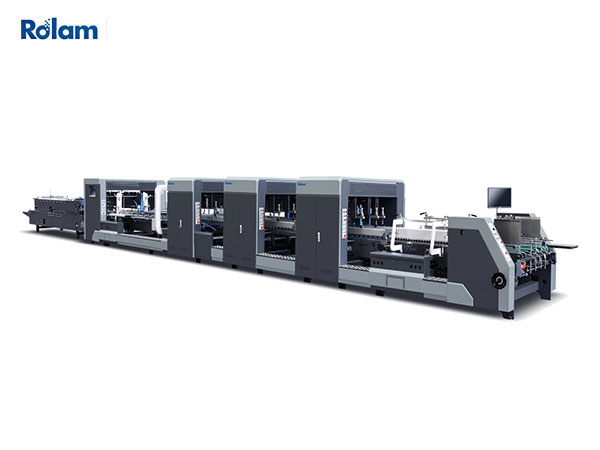
Moving from simple boxes to multi-corner structures is a leap in complexity. A folder-gluer for corrugated box that handles RSCs all day needs a different setup philosophy for 4-corner and 6-corner boxes. The pre-fold sections, tucking fingers, folding rails, and glue application all change. This guide walks through the anatomy of these boxes, the essential tooling and pre-setup steps, a folding sequence walkthrough, and the troubleshooting techniques that separate a frustrating run from a profitable one. The QHZ-S Series folder gluers are built for versatility, handling paper material from 210 to 800 gsm and A/B/E flute, with wireless remote control and a photocell touch screen for easy operation. But mastering complex boxes is about technique as much as it is about machine capability.
The anatomy of a 4-corner lock-bottom box
Before you set up the machine, understand the blank. A 4-corner box—often called a lock-bottom box—has a different geometry than a standard RSC.
The blank includes a glue flap on one edge, lock-bottom tabs at the bottom, and dust flaps that fold inward. The folding sequence is fundamentally different from an RSC. Instead of a simple side fold, the bottom locks together through a series of interlocking tabs that create a sturdy, self-locking base. This structure is common in pharmaceutical packaging, premium cartons, and retail boxes where bottom strength matters.
The key difference is that the bottom locks before the sides are fully glued. The folding sequence must create the lock, then apply the side glue, then fold the final panel. If any step is out of sequence, the box won't form correctly.
Essential tooling and pre-setup for corner boxes
Running multi-corner boxes requires specific tooling and a different approach to setup.
The pre-fold and pre-break sections — why they're non-negotiable
Multi-corner boxes need pre-breaking and pre-folding before the main folding sections. The QHZ-S Series pre-folding section adds a secondary creasing function to correct existing creasing lines and substandard phenomena on the corrugated box itself. Without this, the board resists folding, and the corners don't form properly. The pre-fold section initiates the fold at a shallow angle—typically 30–45 degrees—before the main folding rails complete the fold.
For 4-corner and 6-corner boxes, these sections are non-negotiable. Skipping pre-fold or running with worn pre-fold tooling is the fastest way to create mis-tucked corners and jams.
Tucking fingers vs. folding rails — what changes
Standard RSCs use folding rails—long guide rails that fold the sides as the blank moves through the machine. Multi-corner boxes often require tucking fingers instead. These are spring-loaded or pneumatically actuated fingers that push the lock-bottom tabs into position at the exact moment in the folding sequence. The QHZ-S Series features a 4 and 6-corner motorized and untimed electronic back-folding system with intelligent servo motor technology.
The switch from rails to fingers is a fundamental change in setup philosophy. Folding rails work by continuous contact; tucking fingers work by timed, precise action. If your machine is set up for rails, you'll need to install the tucking finger assemblies and time them correctly.
On the QHZ-S Series, the tooling changeover between RSC and corner box setups is designed to be efficient, with a V-shape belt drive that makes operation smoother and more stable. The folding belt is equipped with a servo motor, ensuring perfect corrugated box forming. But the operator still needs to know which tooling to use and where to position it.
A folding sequence walkthrough for a 4-corner box
The folding sequence for a 4-corner box is a precise "dance" through the machine. Here's what happens at each stage.
At the pre-fold station: The blank enters with the glue flap leading. Pre-fold bars initiate the fold on the glue flap side at a shallow angle. The lock-bottom tabs are still flat at this point—they haven't been engaged yet.
Entering the folding rails: The blank moves into the main folding section. The folding rails gradually fold the sides upward. Simultaneously, the tucking fingers engage—they push the lock-bottom tabs into position, creating the interlocking base. The timing between the rail fold and the tucking action is critical. If the tucking happens too early, the tabs don't align. If it happens too late, the sides are already folded and the tabs can't reach their position.
The tucking action: The tucking fingers push the tabs inward at the precise moment when the sides are at approximately 45 degrees. The tabs slide past each other and lock into place. This creates the self-locking bottom that gives the box its name. The crash lock bottom section uses servo motor control with a complete set of front placket locking devices, ensuring precise and error-free locking action.
Compression and squaring: After the lock is formed and the glue is applied, the box moves through the compression section. Squaring plates push the box into its final rectangular shape while the glue sets. For a 4-corner box, this section must square the bottom and the sides simultaneously—any misalignment here creates a "smiling" or "frowning" lock-bottom.
Scaling up to 6-corner collapsible boxes
6-corner boxes add another layer of complexity. These are often used for shelf-ready displays or collapsible pharmaceutical cartons that need to ship flat and pop open at the retail location.
The critical secondary glue line
A 6-corner box typically requires a secondary glue line—an additional strip of adhesive that holds the collapsed box in its flat form. This glue line is positioned differently from the primary side glue. It must be applied at a specific point in the folding sequence, usually after the main fold but before the final compression.
The secondary glue line is what allows the box to be shipped flat and then easily erected at the point of sale. Without it, the box would spring open. With it mispositioned, the box won't collapse properly or won't stay flat.
Managing the double fold for shelf-ready packaging
6-corner boxes often require a "double fold"—the box is folded once to create the structure, then folded again to collapse it flat. This double fold demands precise control of the folding rails and the compression section. The first fold creates the box; the second fold flattens it for shipping.
The folding rails on a 6-corner setup need to be adjusted differently than for a 4-corner box. The rails must guide the blank through both folds without catching or tearing the board. On the QHZ-S Series, the folding section is equipped with a compression function, and the folding belt is servo-driven for precise control. The full-color photocell touch screen and wireless remote control allow operators to fine-tune rail positions and monitor the folding process in real time.
Troubleshooting common multi-corner box defects
Even with perfect setup, defects happen. Here's how to identify and fix the most common ones.
"Smiling" or "frowning" lock-bottoms
A "smiling" lock-bottom curves upward at the center; a "frowning" one curves downward. Both defects mean the lock-bottom tabs aren't seating correctly. The cause is usually timing—the tucking fingers are engaging too early or too late.
Fix: Adjust the timing of the tucking fingers relative to the folding rails. The tabs should engage when the sides are at approximately 45 degrees. If the lock-bottom smiles, the tabs are engaging too late; if it frowns, they're engaging too early. Make small timing adjustments and test.
Mis-tucked corners that pop out
A corner that tucks but then pops out after compression means the tucking fingers aren't holding the tab long enough. The tab is being pushed into position, but it springs back before the glue sets.
Fix: Check the tucking finger pressure. If the pressure is too low, the tab won't stay in position. If it's too high, the tab may be damaged. Also check the timing of the compression section—it should engage immediately after the tucking action to hold the tab in place while the glue sets.
Below is a quick reference table for common multi-corner box defects:
| Defect | Most Likely Cause | Check First |
|---|---|---|
| Smiling lock-bottom | Tucking fingers engage too late | Advance tucking timing by 5–10 degrees |
| Frowning lock-bottom | Tucking fingers engage too early | Delay tucking timing by 5–10 degrees |
| Corners pop out after compression | Insufficient tucking finger pressure | Increase finger spring tension or air pressure |
| Glue flap peels open | Secondary glue line mispositioned | Verify glue nozzle position against blank layout |
| Jams at pre-fold section | Pre-fold tooling worn or misaligned | Inspect pre-fold bars for wear; check alignment |
| Boxes not square | Compression section misaligned | Check squaring plate positions |
Questions on complex box folding
Q: Can any automatic folder gluer handle 4-corner boxes, or do I need a special model?
A: Most modern automatic folder gluers can handle 4-corner boxes with the right tooling. The machine needs tucking finger assemblies, adjustable pre-fold sections, and a control system that allows timing adjustments between the folding and tucking actions. The QHZ-S Series is equipped with these capabilities, with wireless remote control, PLC control, and a photocell touch screen that make timing adjustments straightforward. It handles paper material from 210 to 800 gsm with A, B, or E flute. If your machine doesn't have tucking fingers or adjustable pre-fold, retrofitting may be possible, but it's often more cost-effective to upgrade.
Q: How much changeover time should I budget between an RSC and a 6-corner box?
A: Expect 2–4 hours for a full changeover from RSC to 6-corner setup, depending on operator experience and machine design. The changeover involves swapping tucking finger assemblies, adjusting folding rails, repositioning glue nozzles (for the secondary glue line), and recalibrating the compression section. On the QHZ-S Series, the V-shape belt drive and adjustable conveyor systems reduce this time, but plan for at least two hours for the first few runs.
Q: What's the most common cause of jams when running lock-bottom boxes?
A: Mis-timed tucking fingers are the number one cause of jams on lock-bottom runs. If the fingers engage too early, they catch the blank before it's properly positioned, causing a jam at the folding section. If they engage too late, the blank has already passed the tucking position, and the tabs don't lock—creating a jam further down the line. Always run a few test boxes at low speed when setting up a new lock-bottom job, and verify the tucking timing before running at full production speed.
Maximizing your machine's versatility
Mastering 4-corner and 6-corner boxes transforms your folder gluer from a one-trick machine into a versatile production asset. Pharmaceutical boxes, premium rigid packaging, and shelf-ready displays all require these structures—and they command higher margins than standard RSCs.
The key is understanding that multi-corner boxes aren't just "harder RSCs." They require a different approach to setup, different tooling, and a different mindset from the operator. Pre-fold sections matter. Tucking finger timing matters. Secondary glue lines matter. With the right setup discipline, you can run these boxes at speed without sacrificing quality.
The QHZ-S Series folder gluers are designed for this versatility. The series runs up to 280 m/min, features wireless remote control and a photocell touch screen for easy operation, and includes a V-shape belt drive that makes operation smoother and more stable. The machine is suitable for folding and forming 4/6 corner, lock bottom, and straight line corrugated cardboard boxes. One-on-one technical guidance, detailed video tutorials, and remote technical support are available to help your team master complex box setups.
The QHZ-S Series also features strong stainless steel frame construction for stable high-speed operation, automatic fault diagnosis alarm, and an adjustable hook bottom device that is easy and fast to operate. Low-voltage electrical appliances, button switches, transmission parts, timing belts, press belts, bearings, servo motors, inverters, and pneumatic components are all imported products that meet European and American advanced national safety standards.
Before you commit to a full production run of a new multi-corner box, run a short test at low speed. Verify the tucking timing, check the secondary glue line position, and confirm that the lock-bottom is seating correctly. A few minutes of testing saves hours of troubleshooting.
Planning to run 4-corner or 6-corner boxes on your folder gluer? Share your box sample drawing with Rolam for a free application feasibility review. Their technical team can recommend the right tooling configuration and setup parameters for your specific box structure.